Subscribe
Popular Posts
-
Happy Saturday, guys! This week seems to have flown by. Last Friday was my baby's first birthday, and we've had friends and...
-
Woah, Nelly, this is a big one! I've been talking about the nursery project for what seems like forever... and I'm finally ready...
-
Generally, I'm all for baking things from scratch. Things taste better, they're healthier (no preservatives!) and there's not...
-
This coming weekend is the unofficial kickoff of the summer season: picnics & barbeques; volleyball & bocce; swimming pools & S...
-
Two weeks ago I talked about my goal of finding affordable throw pillows. My first project of turning placemats into pillows turned out...
About the Author

- Entertaining Grace
- Hey guys! My name's Emily-Grace and I'm so glad you've found my blog! E.G. is all about decor, entertaining, laughter and finding joy in the everyday. The meaning of the name is threefold: 1. "Entertaining" in the sense of providing for guests. ("Hey, come on over for dinner and I'll break out the good mason jars and moonshine...") 2. "Entertaining" is also meant to indicate my love of laughter ("That Emily-Grace. She's hilarious. And she should quite possibly be medicated.") 3. And finally, "Entertaining GRACE" is about the idea of granting each other a certain amount of kindness, mercy, and tenderness. This world can be a tough old bird and the truth is, we're all in it together. When we take the time to celebrate the bright moments we magnify that light to the people around us and, hopefully, add some hope and joy to their lives (as well as our own!).
Labels
about me
(10)
arranging
(12)
Autumn
(7)
baby
(2)
baby shower
(4)
birthday
(3)
Christmas
(24)
cleaning
(11)
date night
(4)
decor
(69)
DIY
(51)
Easter
(6)
entertaining
(55)
etiquette
(5)
Father's Day
(1)
flowers
(15)
food
(33)
Fourth of July
(3)
friends and family
(11)
fun read
(10)
gifts
(10)
Halloween
(22)
healthy living
(6)
holiday
(72)
home
(57)
just for fun
(18)
kids
(2)
Mixology
(1)
Mother's Day
(1)
my house
(4)
New Years
(5)
Nursery
(7)
organization
(11)
parties
(35)
Personal
(7)
printables
(2)
recipes
(30)
Shopping
(2)
summer
(3)
Thanksgiving
(8)
thrifty living
(16)
tips and tricks
(30)
vegetarian-friendly
(2)
weddings
(4)


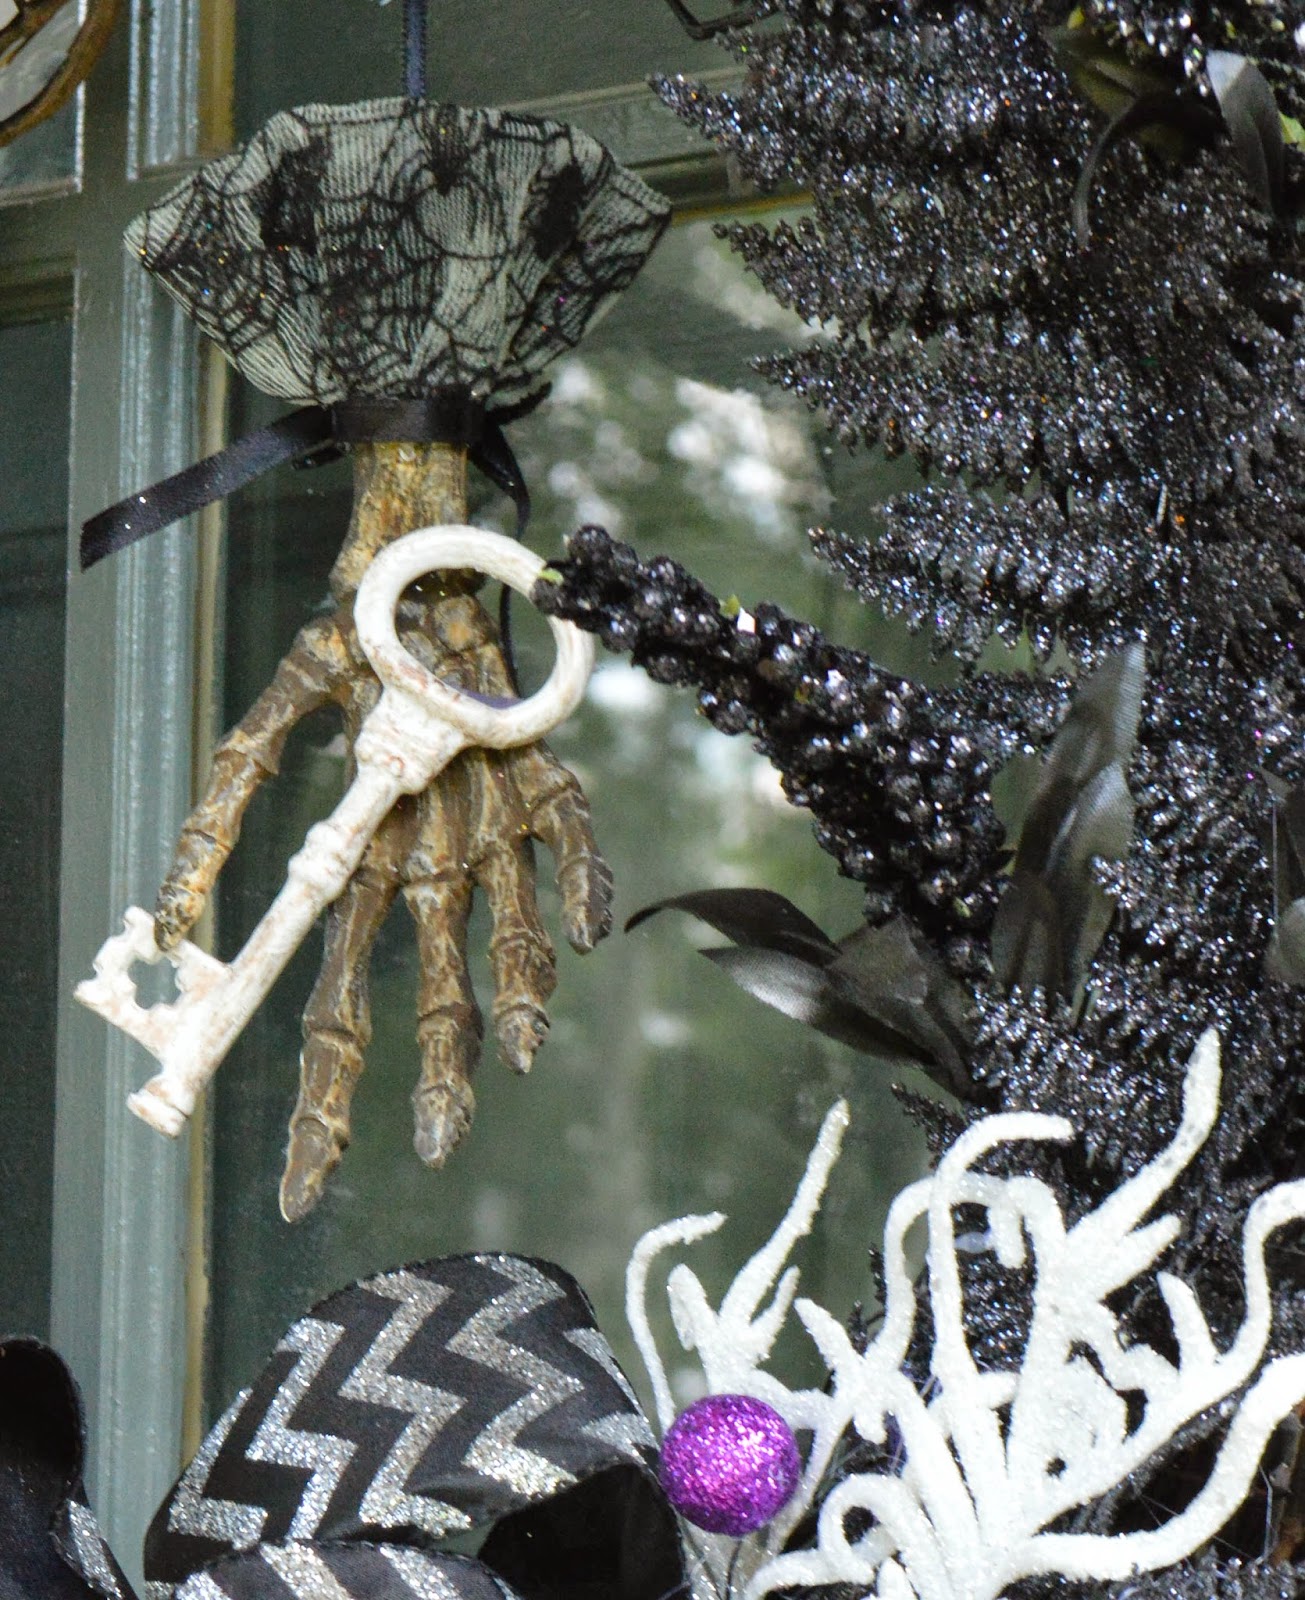
hello this is a very nice tutorial can you please tell me where you found the white glitter curlicues?
ReplyDeleteHi RaJean! Thank you, and thank you for reading! I bought the white curlicues at Michael's with one of their fabulous 40% off coupons (if you don't have one, just check online for a printable one before you go). I believe that they were part of the Halloween picks, but I'm sure they have something similar for Christmas. You know Michael's - they love them some glitter!!
DeleteI'd love to see a picture of your project when you're done! Best of luck!